TanAsh
Member
Many people private message me on Facebook asking about the parts I used to make my AWC pumps. Therefore, I will share them here on this forum.

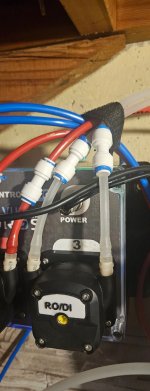
Parts needed: 3 Kamoer KPHM 400 12V brushed motors Amazon.com
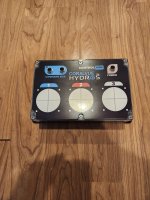
9.06" x 5.90" x 3.43" project box Amazon.com
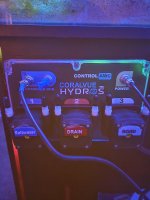
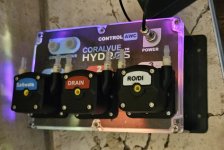
CoralVue Hydros XD HYDROS Control XD (Controller Only)
One male and one female GX12 4-pin connector Amazon.com
Two male and two female GX12 6-pin connectors Amazon.com
8.5" x 11" printable vinyl sticker paper Amazon.com
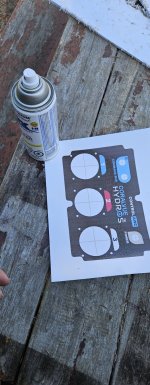
Clear spray paint Amazon.com
4-wire conductor cable Amazon.com
6-wire conductor cable Amazon.com
2-wire conductor cable Amazon.com
Six wire crimp ends Amazon.com
Heat shrink tubing Amazon.com
..............................................................................................................................
Tools needed:

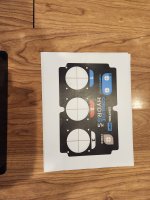
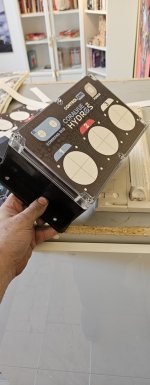
Once it's printed, spray it with clear paint (a couple of coats should suffice) to make it water-resistant, then let it dry completely).

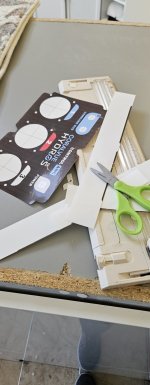
Use scissors to cut out the label (make sure not to cut the circles with the cross).

Parts needed: 3 Kamoer KPHM 400 12V brushed motors Amazon.com
9.06" x 5.90" x 3.43" project box Amazon.com
CoralVue Hydros XD HYDROS Control XD (Controller Only)
One male and one female GX12 4-pin connector Amazon.com
Two male and two female GX12 6-pin connectors Amazon.com
8.5" x 11" printable vinyl sticker paper Amazon.com
Clear spray paint Amazon.com
4-wire conductor cable Amazon.com
6-wire conductor cable Amazon.com
2-wire conductor cable Amazon.com
Six wire crimp ends Amazon.com
Heat shrink tubing Amazon.com
..............................................................................................................................
Tools needed:
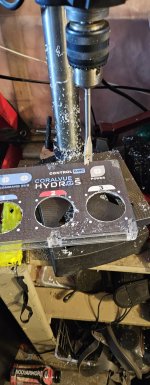
- 2 3/16" hole saw
- 1/2" drill bit
- 1/8" drill bit
- Drill or drill press
- Soldering iron
- Crimper
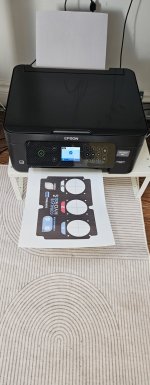
- Color inkjet printer with ink (any brand and model)
- scissors
- ........................................................................................................................
Once it's printed, spray it with clear paint (a couple of coats should suffice) to make it water-resistant, then let it dry completely).
Use scissors to cut out the label (make sure not to cut the circles with the cross).


/https://fbi.cults3d.com/uploaders/20442137/illustration-file/65789168-47d7-4982-9951-338a5b2b5562/20250417_221056.jpg)