TanAsh
Member
Note for the pumps
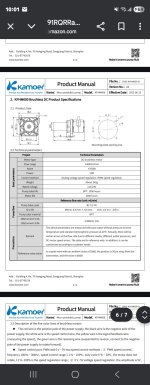
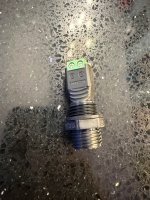
Make sure to purchase the brushed motor version of the Kamoer KPHM 400ml or 600ml to be able to wire it directly to the XD Drive port.
As the Kamoer KPHM has three types of motor options:
1. Brushed DC motor
2. Brushless motor
3. Stepper motor
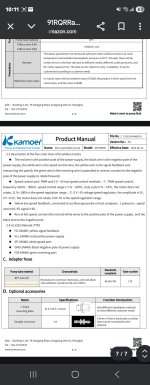
Make sure to purchase the brushed motor version of the Kamoer KPHM 400ml or 600ml to be able to wire it directly to the XD Drive port.
As the Kamoer KPHM has three types of motor options:
1. Brushed DC motor
2. Brushless motor
3. Stepper motor


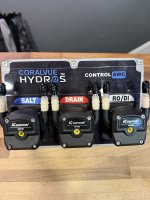
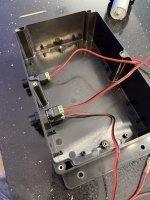


 Didn't bother with the 5 pin. I did do two of the 2 pins. 1 worked and the other probably came undone when putting the housing back. Oh well, I had a few Drive cables around, so I just used those. Even though I bought cables, I had to cut them and splice back together to fit in the holes properly. Anyway, all done and it works.